

Kim Dallefeld, MVP, MCT, MCP
I recently had several clients wanting to update multiple general ledger transaction’s dimension values rather than doing them one at a time.
Yes, Business Central does allow for this but there are some considerations that you need to keep in mind.
- The current dimension values for the transactions you want to adjust must all have the exact same dimension values for all dimensions.
Let’s say you want to update the department dimension from PROD to ADMIN and all the transactions you want have the department dimension of PROD….but when you run the update nothing happens.
The cause is there were other dimensions whose values did not match; example
| Department | Area | |
| 61400 | PROD | EU |
| 61400 | PROD | NA |
| 61500 | PROD | EU |
| 62200 | PROD | MX |
Though the Department dimension on all transactions is PROD, the Area dimension has 3 different values.
In order to correct the above 4 transactions, you will need to filter for PROD and EU, PROD and NA and PROD and MX to make your corrections.
- The dates, the general ledger accounts or really any other fields on the transactions do not have to be the same.
To correct a group of transactions, start with General Ledger Entries page. This can be filtered for one account or for many general ledger accounts, for one date or a date range. Just remember #1 above. You can use the ‘select more’ feature to pick the desired transactions as an alternative method for filtering; example below:
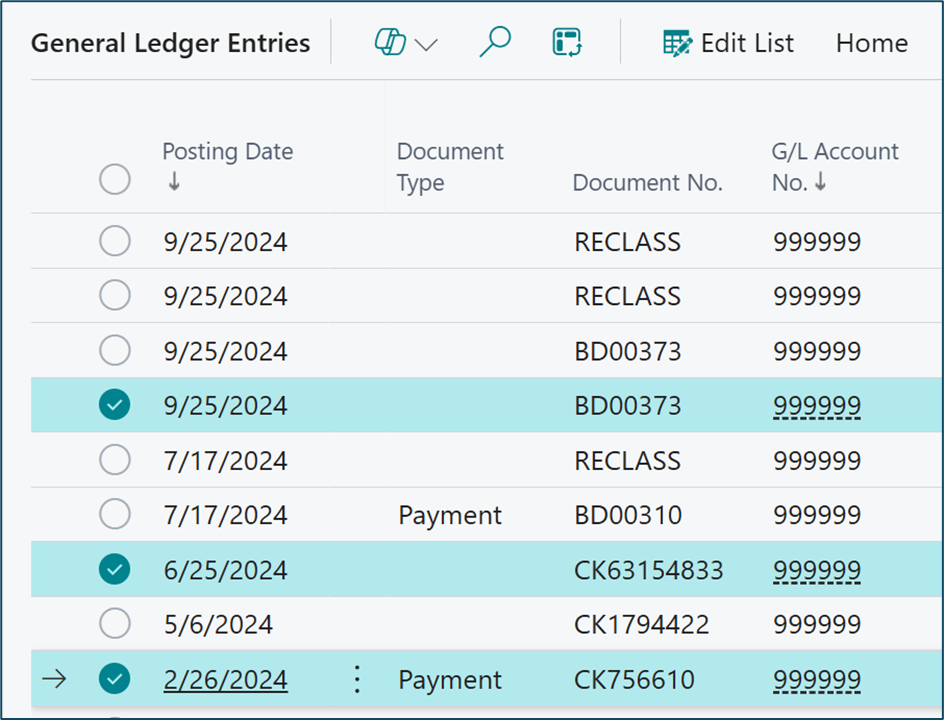
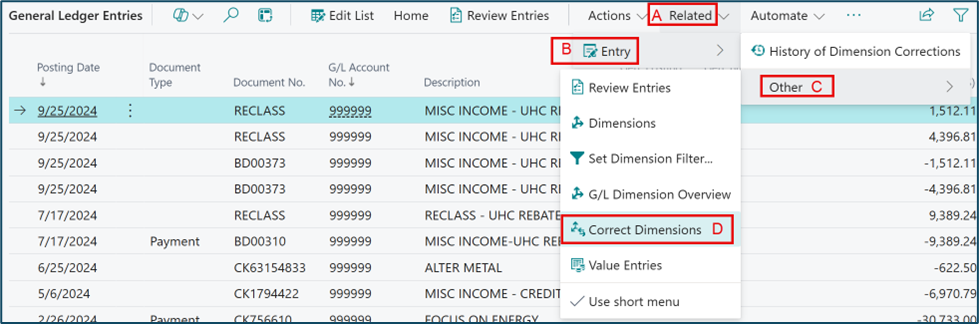
Once you have the group of transactions you desire, use the ‘Select More’ function and then execute the Correct Dimensions function. It’s a bit hidden unto Related >> Entry >> Other >> Correct Dimensions.
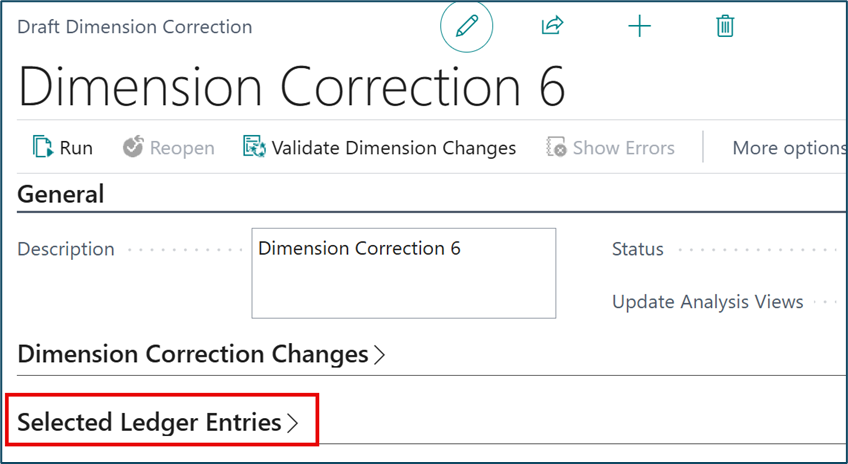
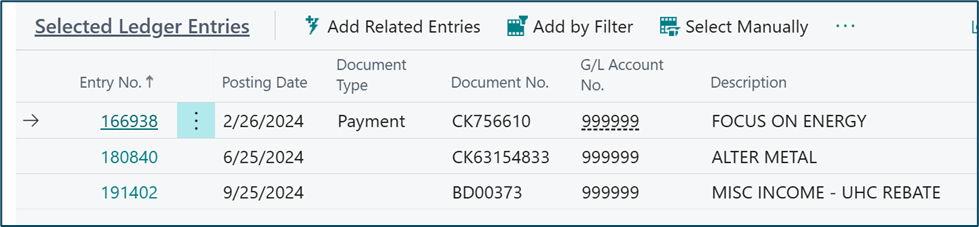
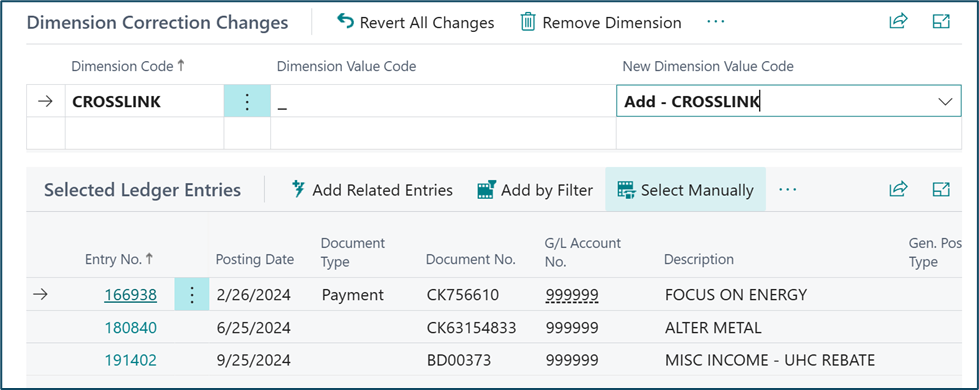
First, Check the Selected Ledger Entries at the bottom of the Draft Dimension Correction to verify that you have the transactions you want to correct.
Open the above ‘fast tab’ and verify your transactions; example
Then in the center of the screen on the Dimension Correction Changes ‘fast tab’ populate the New Dimension Value as Desired. If there is a dimension that you don’t want to change, make sure it has ‘No Change’.
Final step is to ‘Run’ which opens another screen where you choose to run immediately or later.
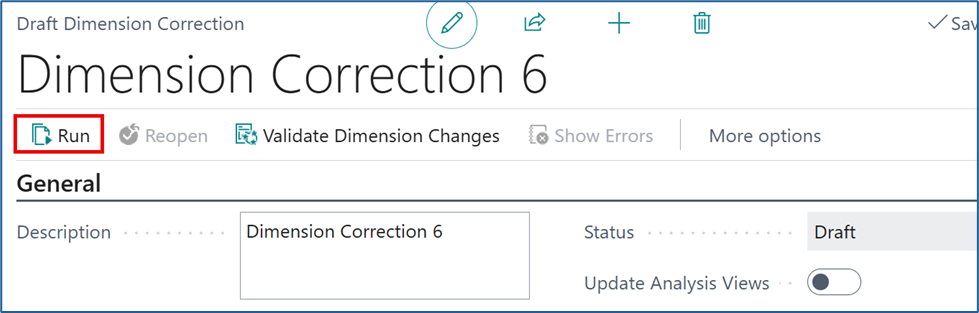

Choose Run Immediately by moving the toggle to the right. If left alone and you press OK, you have scheduled the correction to run and the date and time list.
Note: all dimension corrections are tracked and you can review them under the Dimension Correction History.
This is a great and powerful tool! It is recommended that you try a few simple correction and get comfortable in the Sandbox before executing in your production data.