Be sure to read the Microsoft Documentation. In the case of the company details topic, the Microsoft document is not as specific as it was for our last blog but rather it covers a wide range of topics.
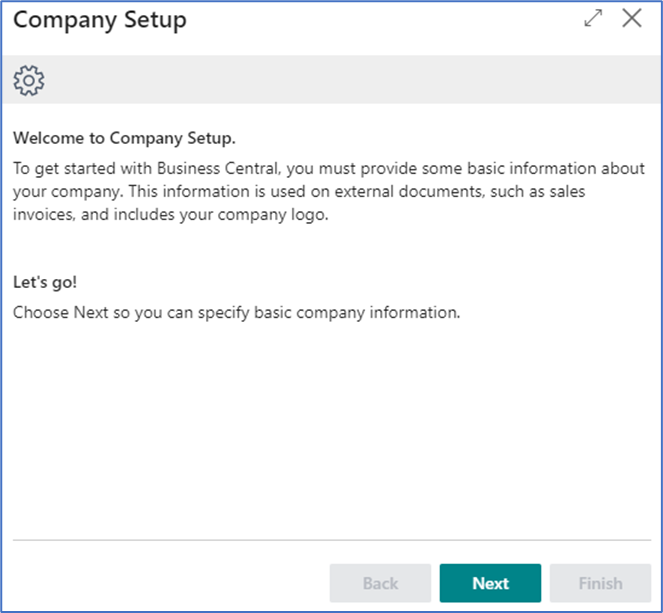
As with most of the Assisted Setup topics, the wizard begins with a verification screen.
After pressing Next to confirm that you want to continue with the Company Details, the next screen will prompt you to enter your company name and address. It will also give you the ability to import a company logo. This data is used on external facing documents so be accurate, no misspellings, please.
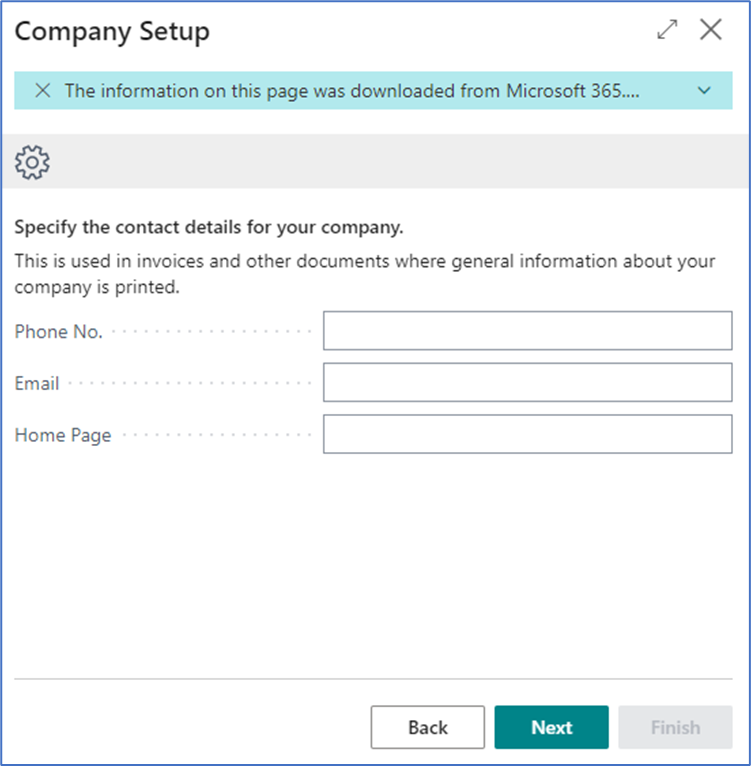
The next screen is for the phone number, email and home page. These fields might print on external facing documents depending upon the document selected; so again be accurate.
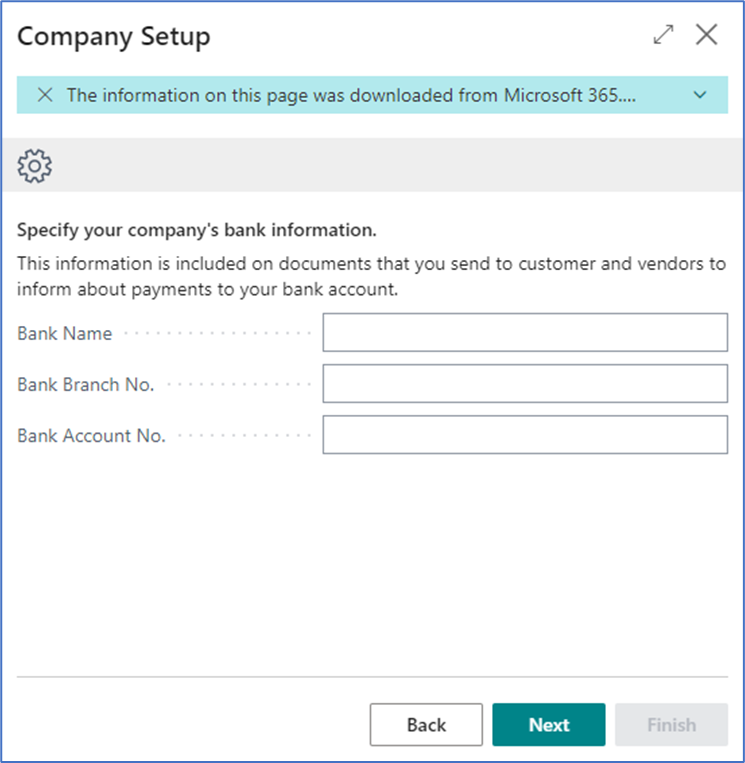
Bank information is on the next screen, bank name, branch and account number. These fields are not typically used but some external sales invoices might utilize some of them.
And the Final screen provides two options; Learn More about setting up your company and Finish. Learn More takes you to the same Microsoft document that you see when you choose the Read option from Assisted Setup. To complete this wizard, you must choose Finish.
Your Company Information data is now much more complete….Find company information by searching in Tell Me or Alt+Q or under Setting.
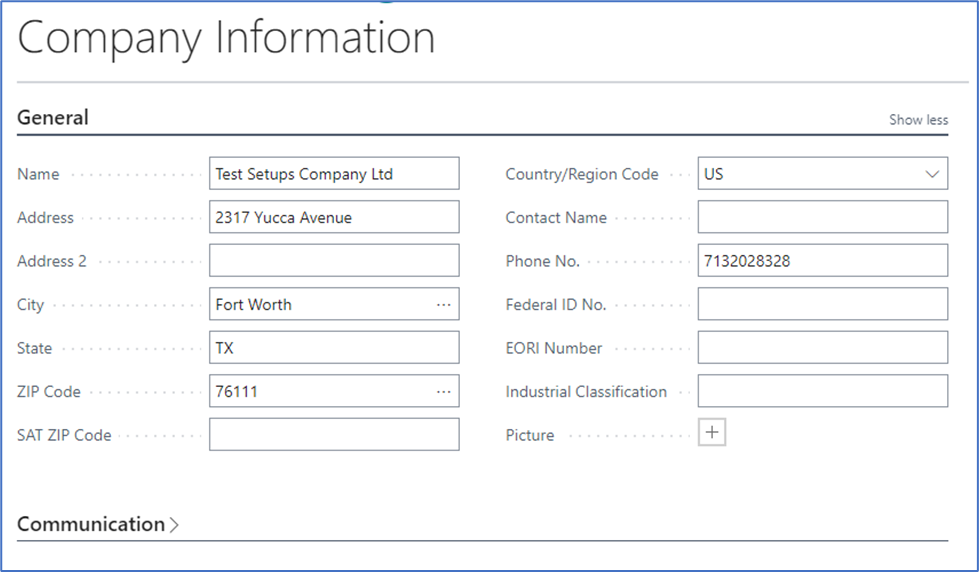
You can and should review Company Information to add any additional information that you desire or to make any corrections. The above is just a sample of the other fields available. Be sure to review them all. Also understand that you can edit this information at a later date, but make a list so you don’t forget to come back.